Cooking in Premiere - Pestilence
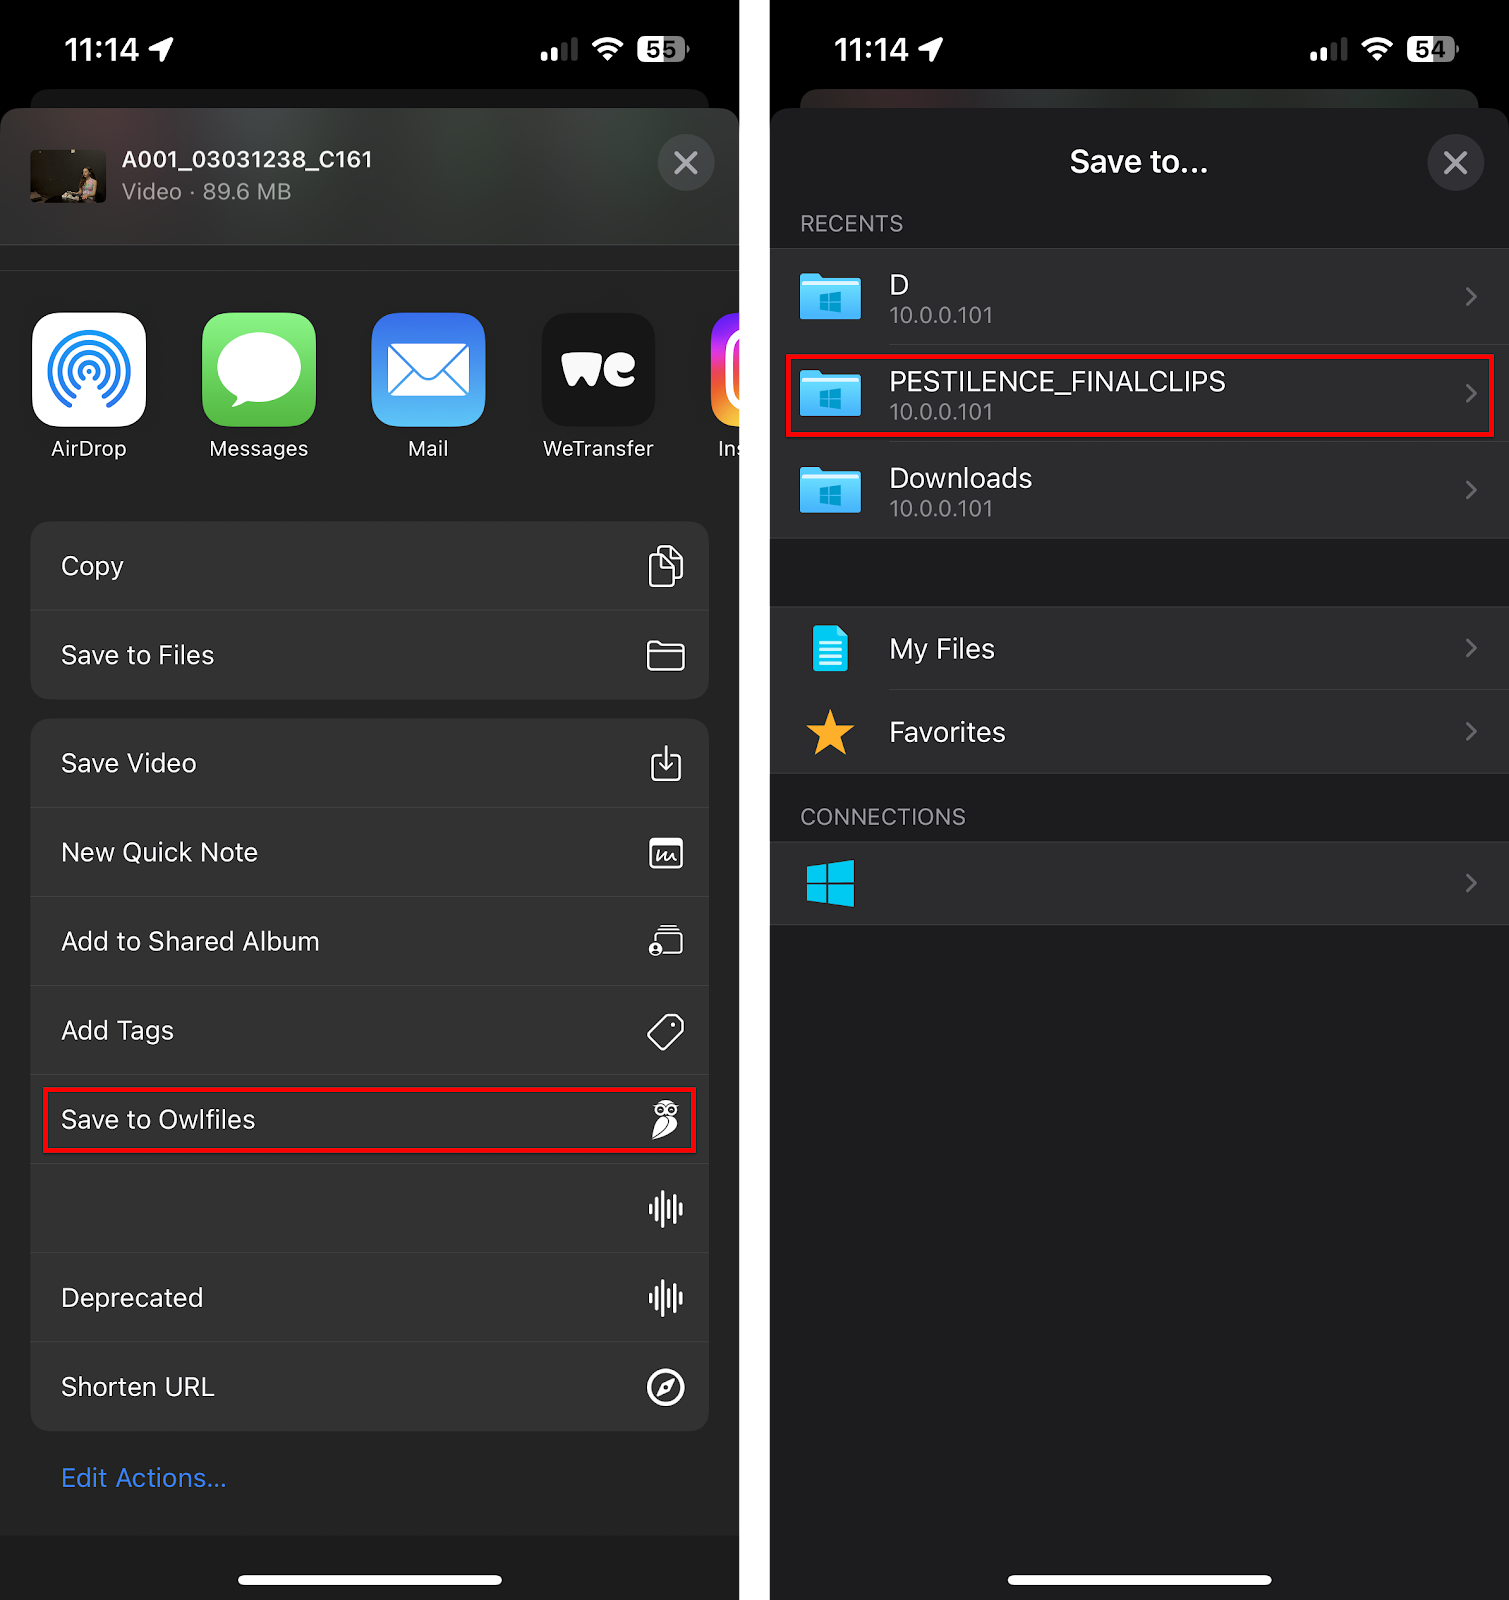
At last, all filming has officially concluded, and all focus is now being shifted to post-production editing! Before I start cooking with Premiere, I will proceed with copying all of the Scene 1 footage using the usual file transfer process. Owlfiles, then the final clips folder, and then to my laptop's project folder.
I then imported the video files into the Adobe Premiere project, and it was time to start editing!
Most of the basic work was already complete. The majority of the shots for Scene 3 and all of Scene 2 were already on the timeline. So the next thing to do was to import Scene 1's shots, and Scene 3's additional shots onto the timeline. Scene 2 was already fully assembled, but Scene 3 required additional shots. So, those additional shots were promptly added to Scene 3. After that, I assembled Scene 1, and everything put together went over the 2-minute limit. Not good!
So, it was time to see what clips could be either shortened or removed altogether. The first thing I gazed my eyes on was Scene 1. Jessica's interaction with Zephyra was a little bit long, so I shortened that, and that cut the film short by several minutes. That still was not enough.
So, after cutting Scenes 2 and 3 by a few minutes, omitting at least 2 shots from the film, and adding in a placeholder for the working title, I was then able to get below the 2-minute mark. At that point, it was time to start cooking in the kitchen!
Audio
The first thing I did was to find some sound effects and music. I found some royalty-free sound effects to use in the opening sequence. I added them throughout the timeline to enhance the film's emotional impact. Additionally, I inserted Kevin MacLeod's "Dance of the Sugar Plum Fairy" (free to use) in Scene 2 for a similar effect.
In various portions of the video, I added some reverb effects using the Surround Reverb effect. Here are some examples of this effect being used:
- Scene 3 to Working Title cut - From the end of Scene 3, the whoop tone fades out to smoothly transition to the working title.
- Alarm (Outside) - Since no speaker was used outside, the sound had to be emulated in some way. Originally, audio was going to be recorded from another speaker, however, applying a reverb seemed to a more easier approach.
- Digital Phantom's Laugh - There are two instances where Digital Phantom's laugh was given a reverb effect, which include the Scene 2 to Scene 3 cut, and the Scene 3 Working Title cut. Not only does the reverb give a seamless transition to the next scene, but it also increases suspense.
The next thing I did was to maintain loudness normalization. I was quite concerned with how quiet the audio was throughout the video. The dialogue in some clips was quite quiet, so I promptly turned up the audio gain on the clips that were affected by this issue.
Another concern was that in one of the Scene 2 shots, there was an unwanted noise that could be heard in the middle of a dialogue. So, I ended up bringing the clip over to a program called Adobe Audition. I located the prominent frequencies on the Spectral Frequency Display of the <0.3 seconds of noise that was found in the audio track and gained them down to the lowest possible level.

The Titles
The next step was to animate the titles. I used 9 After Effects compositions to create the titles. 7 of them were lower thirds, 1 was a working title, and 1 was a flashing cursor to use in the titles. All of the titles (except the logomark in the working title) will use some variation of the Helvetica LT Standard font. For each title, they will receive an animation in which the text will be typed out as if it were being typed in a command line terminal.
To achieve this effect, a text mask and another composition emulating a flashing cursor were used. The mask and composition were keyframed to certain positions about every four frames, with the values for mask expansion and X-axis position increasing at each interval.

Depending on the context of the title, subtitles in companion with the titles will fade either before or after the animation plays. They will also be lowercase to maintain subtleness while also looking clean and modern for the period the film is based in.
An example of an actor's title is shown here:

The Working Title
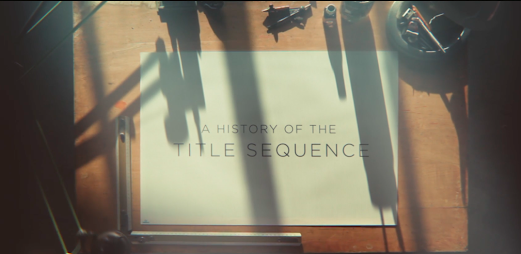
The working title by far made this one of the most recognizable parts of this film. I used a free online tool to create a matrix rain. From there, I screen-recorded it and then used that as a background clip for the working title. I then animated the text as normal, but I also added a text logo for the studio on top of the name of the film, which enhanced the film's overall identity.
The title itself scales from a specific point while typing the title "Pestilence", and then once it reaches a certain point, the Queen Sirena text logo fades in.

Color Correction
Next up was to adjust the overall appearance of the video clips. This included the application of LUTs, forcing color spaces on certain clips, and performing basic color correction on some of the clips.One major concern with Scene 1's shots was that some of them were too dark overall. So, I selected those clips and played around with the Exposure and Highlights settings under the Basic Corrections panel of the Lumetri Color window. Shown below is the result after tweaking with the appropriate settings: Afterward, I applied some LUTs to certain outdoor clips to make them a bit vibrant.Another concern was with some clips forcing themselves to the Rec. 709 title spaces, specifically any Adobe After Effects compositions that were not exported. Some titles ended up looking darker than intended for this reason. To fix this, I did either one of two things to select clips:
- Exported the segment by itself, and re-imported the segment as a standalone video
- The color space was then forced to Rec. 2100 HLG
- Applied SDR Conform onto all but one of the After Effects clips
- Brightness was set to 100%
After performing such tasks, the titles looked normal again.
- Exported the segment by itself, and re-imported the segment as a standalone video
- The color space was then forced to Rec. 2100 HLG
- Applied SDR Conform onto all but one of the After Effects clips
- Brightness was set to 100%
After performing such tasks, the titles looked normal again.
Masking
The last thing to do was to mask certain things that were found in the shots that could detract from the overall set illusions. For starters, there was an exit sign illuminating an outdoor scene, so I promptly created an inverted opacity mask so that it could disappear entirely.
Another thing I masked was a pole that was visible in Digital Phantom's lair. To make it look more like an actual room, I traced another inverted mask in the clip where the pole was the most visible and then tracked it throughout the overall runtime of the clip. There were instances in which the tracking was not perfect, so I had to manually move and resize the mask at different intervals, and then track it at certain intervals so that it didn't conflict with Digital Phantom's movement.

Now that I added the masks successfully, and ensured everything looked good on Premiere, it was now time to export the video. I loaded the main sequence onto Adobe Media Encoder, maintained the same resolution and framerate as in the sequence, set the color space to Rec. 2100 HLG with 300 nits HDR10 enabled, and it was ready to export.

The air-breathing dragon known as my ASUS ROG Strix G16, exhaling heat being produced by my Nvidia GeForce RTX 4060 and Intel Core i7-13650HX, rendered this video in about 5 minutes. After that, I beamed it up to Google's servers to be shown on YouTube to make it available for viewers like you to see this video. It will be up very soon, so keep your eyes peeled!